Good Morning ! Chelsea here this morning. I would like to talk to you about paper piecing with the Best Glue Ever and Embellie Gellie. Two products that make paper piecing a breeze!!!
3 simple supplies is all that is required:
-Best Glue Ever - ScraPerfect
-Embellie Gellie - ScraPerfect
- Paper Piecing Project

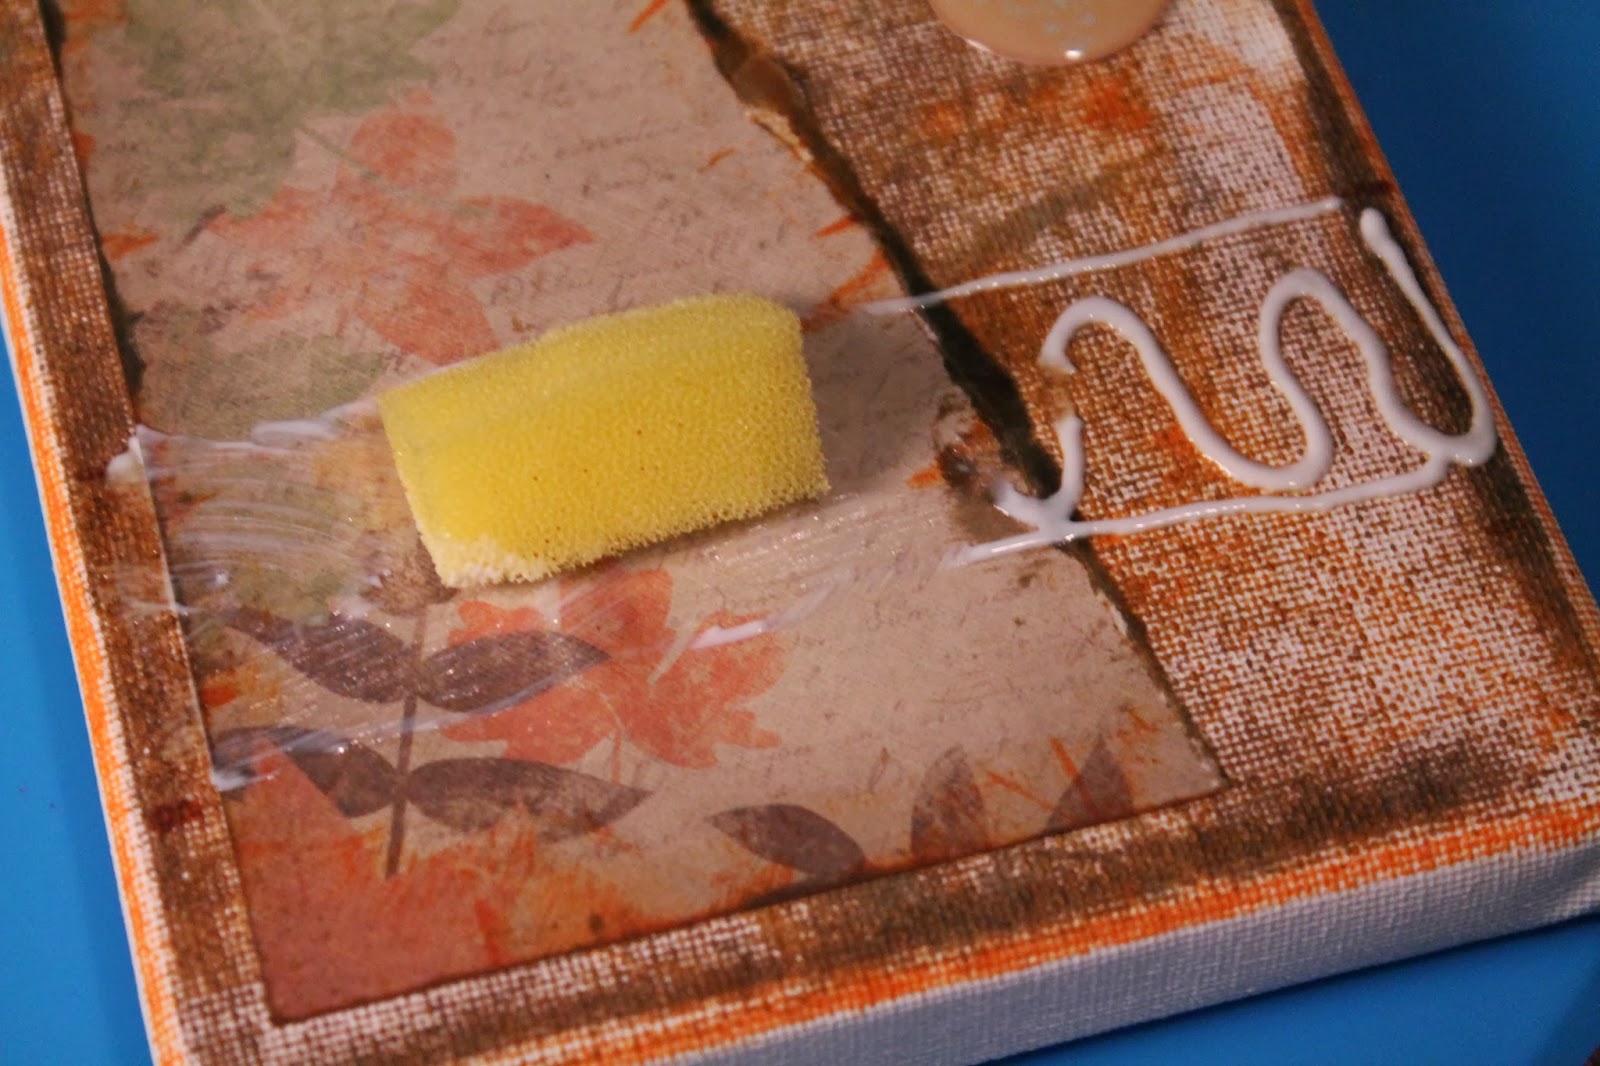
I would like to point out a few tips when paper piecing. To begin, you only need a SMALL amount of BGE for the paper pieces to adhere to each other. It dries instantly. Something to note is if you lay your glue down right away while it is still white, you have a small amount of "play" before you won't be able to move the piece. If you wait for your glue to go clear; in the tacky stage these pieces WILL stick together instantly. You will not be able to pull it apart or slide the pieces into place. When paper piecing, I recommend to adhere your pieces while the glue is still wet (white) so that you can line it up exactly the way you want it.
Regardless if it is a tiny piece or a large piece the amount of glue stays the same. As you see on the yellow, I have only placed a thin line of glue on the outside of my project piece. I haven't put any glue in the middle. This thin layer of BGE WILL adhere the entire piece to the base of my paper piecing ; AMAZING isn't it!!!


Now lets talk about the Embellie Gellie - an extremely useful tool when needing to pick up small parts for paper piecing. Your fingers stay out of the way and don't become all sticky from trying to place those tiny pieces of paper to your project.
I have tested how small and large pieces of card stock need to be for the Embellie Gellie to pick up. I was actually quite surprised at my results :
First these TINY buttons

Second, medium sized solid pieces

Third, medium sized, delicate and not much to grip onto pieces

Fourth, LARGE pieces such as the hat for the minon. This impressed me the most because I never thought it could pick up and hold a large piece like this. I even twirled the Embellie Gellie around several time and the hat never fell off it. Strong hold but easy release!

A brief tip that I came across while working with paper piecing is that the opposite end of the Embellie Gellie (flat end) is perfect for pressing down your pieces to ensure FULL contact is made with one another. It also allows you to flatten out the pieces that you are placing and building on top of each other.

Using both the Best Glue Ever, and the Embellie Gellie made this project simple and quick to put together ; especially when I made 24 of them! These are some helpful tips on how to paper piece using these 2 products from ScraPerfect.
Finished paper piece project!

Thansk for stopping by the ScraPerfect blog!